


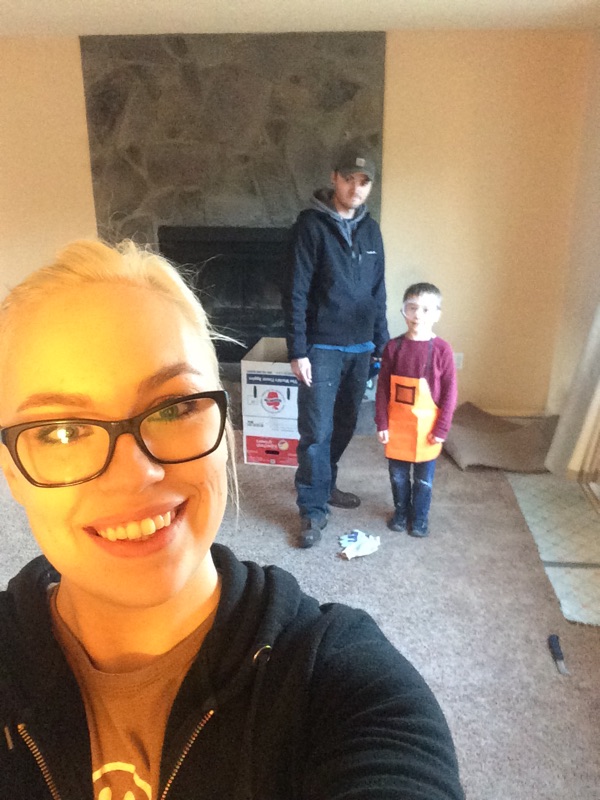
Ripping out carpets seems pretty straightforward but I am here to share some tips and tricks that will help you take out your carpets efficiently. We got the keys to our new house on a Tuesday and immediately started ripping out the carpets as we are going to be installing new engineered hardwoods in the next few weeks. We are going to be installing the engineered hardwoods in the kitchen, dining room, living room, on the stairs, down the hallway and into the master bedroom so these are the areas we needed to prep for.
Here are the tools you will need:
- Boxcutter
- Plyers
- Crowbar or Plybar
- Hammer
- Gloves
- Safety Glasses & Masks
- Drywall Screws
- Drill
First, begin in the corner of the room and cut the carpet. We cut the carpet in thin strips for easy disposal (the large rolls become heavy quick!). However, if your carpet is in good shape and you plan on donating the material, you will need to cut a large strip and be prepared to have hands on deck to help you carry it.
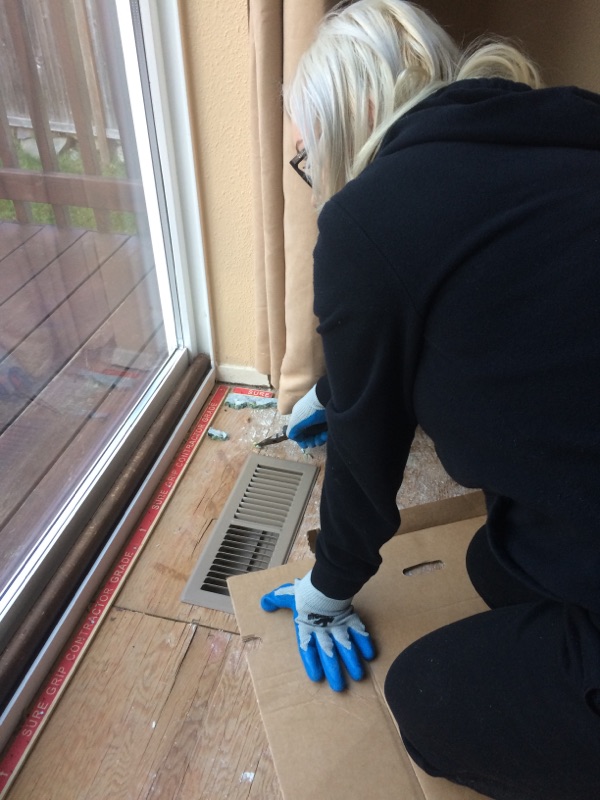
This is the best part of the whole project because it feels like you’re making a lot of progress really fast! However, actually pulling up the carpet is the easy part. Now you will have to pull up all the tack strips and staples. There were THOUSANDS of staples under our carpet. My hands are still sore from pulling them all out.
At first, DJ and I were starting out on opposite sides of the room and each pulling out our sides tack strips and staples, but then we found it was much easier for each of us to do one task. DJ got really good at pulling up the tack strips and I quickly became an expert in staple pulling.
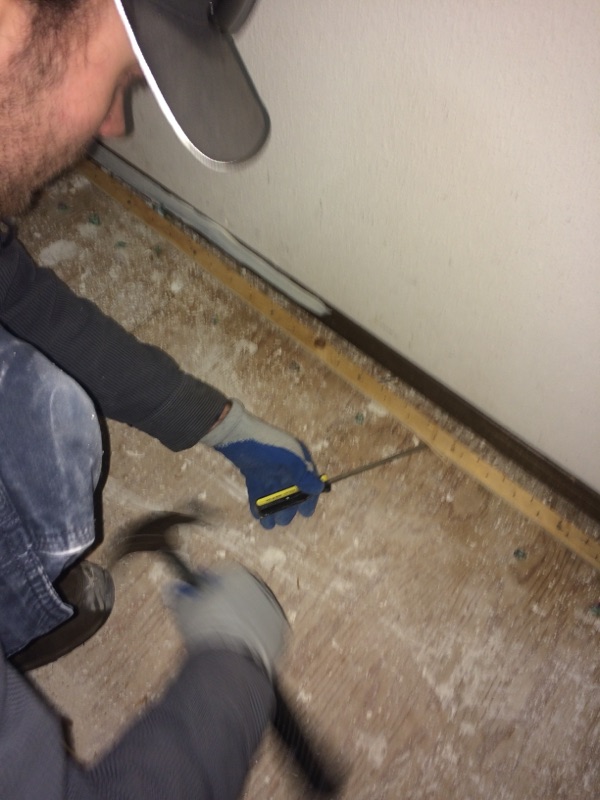
All you need to pull out the staples are some gloves and a pair of plyers. Just pull them right out! But make sure you get all of them. For the tack strips just take your crowbar and pry up the tack strips. Use the end of your hammer to pull out any stubborn nails. Since, of course, we didn’t bring a crowbar, DJ just placed a screwdriver under the tack strips and hammered the end of the screw driver to get the tack strips to pop up. That worked too.
Once all of your tack strips and staples are removed, inspect your floor for any imperfections that may prevent you from easily installing flooring over it; random nails, damage to the substrate, old closet door tracks, etc. At this point you should also walk around and listen for any squeaky spots. Although it is a simple fix, once the new flooring is installed you will not be able to fix the squeaking so easily. If you hear squeaking, just take your screws and drill them through the plywood and into the floor joists in the problem area.
Now all that’s left is to vacuum or sweep the area to make sure you have a nice clean subfloor. And that’s it! Now you are ready to install your beautiful new floors.

